
From Hobbyist to Professional: My Blogging Journey
Hey, I am Saurabh Gupta! I started my blog in 2020. I’m a Digital Marketer and Social Media Manager, and being a full-time working professional, my creativity didn’t always get a chance to shine. After a visit to Darjeeling, a place reflecting nature’s beauty, I realized I was leaving a part of my imaginative self behind. It was then I decided to visit those far-off places I’d dreamt of as a kid—and that’s why I started this blog.
When I came home and decided I wanted to launch this travel blog, friends agreed to help me set it up and teach me HTML. I hand-coded the website on WordPress and used cool paid tools like SEOprofiler and Ubersuggest to build it and find errors, which proved extremely helpful.
Luckily, you no longer need to build websites that way! Creating a website has gotten much easier and simpler thanks to WordPress, an out-of-the-box platform designed to simplify site creation. It powers over 25% of the web and is the best platform to start a blog on. It’s super flexible and can do whatever you need it to—from a simple journal to complex blogs and e-commerce websites. In our blogging masterclass, thousands of students have started a website on WordPress with great ease. They got them up and running—and you can too!
Step 1: Establish Your Audience (Not Just a Niche)
Before you can start a successful travel blog, you have to figure out if there’s an audience for it. The biggest question you’ll have is, “Who will read my travel blog?”
Some people start blogging for fun, and it slowly evolves into a business—and that’s awesome! But, if you’re trying to build a travel blog from the ground up with the potential to turn it into a business, you need to create a plan before you begin.
First Things First: Determine Your Content Pillars
Determine what you’ll write about. Not just “travel.” Dig deeper. There’s a technique to well-rounded content. For me, it’s a balance of travel guides, destination-based content, photography tips, and travel and lifestyle posts. I also sprinkle in bits of my personality with my love for Harry Potter, In-N-Out, and scuba diving.
Next, determine how you’ll shape your content for your audience. Who is your target audience? For me, it’s 20-to-30-something men and women with a passion for travel and unique experiences. While my audience will undoubtedly deviate from this (I want everyone to read my blog!), it’s essential to keep my core audience in mind at all times so that I create content they will love.
Then, research if there’s already someone writing about the same thing (niche, topic, etc.). If so, ask yourself how you’ll do it differently or better. There are many travel blogs out there, and you need to differentiate yourself.
When you’re creating a travel blog, it’s essential to consider your audience every step of the way. Write for yourself, but don’t forget to also write for your audience. If you have this figured out from the start, you’ll be able to create quality content from day one.
I balance my writing with helpful guides (like this one) and travel tips for my audience, alongside photography-driven content and personal writing for myself. I like to think I distinguish myself by putting quality content first. This includes professional graphic design and epic photography as something my audience has and always can expect from me.
1. Come Up with a Name
Think about names that will grow with you. If you name your travel blog “A Month in India,” it might not be relevant in a year. Remember that your name is a component of your brand, and you’ll likely stick with it for the lifetime of your blog. Aim for something that isn’t limiting and is memorable. After you’ve narrowed it down, trust your gut and choose one.
Quick Tips for Selecting a Memorable Name:
- Make it Unique: There are countless travel blogs already using commonly used travel words like “Adventurous,” “Wanderlust,” or “Wandering.” Think outside the box!
- Keep it Easy to Remember: Having a long name that you constantly have to spell out, or that readers could misspell, is branding suicide. Avoid this at all costs!
- Avoid Confusing Words and Punctuation: Hyphens and anything other than .com or country-level TLDs (like .in) can often be confusing!
- Synergy: Avoid having different names for your website and social accounts. If an account for the name you like isn’t available on one platform, consider modifying everything to match. You want to be easy to search!
- Think About the Future: Do you always want to share recommendations on budget travel? Or Indian adventures? Don’t pigeonhole yourself into a niche brand if you anticipate your content might grow with you as a traveler.
Once you have a list of possible names, check to see if the domain is available (that’s the URL of your website) and that it’s available across social platforms.
A Counterpoint: I also believe that picking a truly niche brand can be strategic. “A Month in India” could be a massively successful blog if the content is solely focused on India forever. Understand the personal connection to your blog and if you’d want your content to reflect your personal journey, or if you’d be comfortable with it remaining a niche brand that you operate as a resource.
Despite how important a name seems, I also don’t believe that it’s the most critical thing. Your voice is more powerful than your name. Branding has many layers; the name is only the first layer, so it’s not necessarily the end of the world if you don’t pick the perfect one. The biggest mistake you can make is holding off on starting a blog because you can’t pick a name.
Just. Start.
If you’re stuck on finding a name, consider using your real name! Don’t forget that you are a personal brand.
Step 2: Set Up Your Domain and Hosting
Know the difference between your domain and hosting!
If this is your first website, there are probably a few terms you aren’t familiar with that you’ll need to learn. You’ll want to understand the difference between a domain and hosting. Sometimes, they’re sold as a pair, but they are very different.
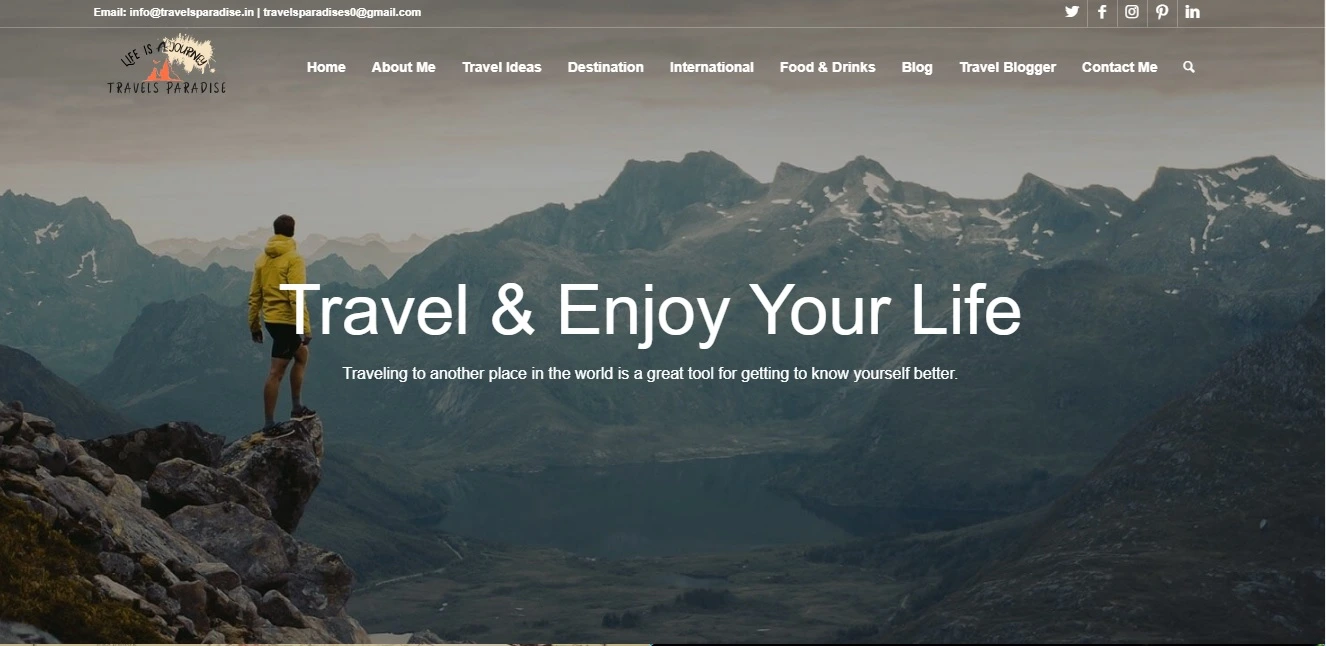
A domain is the URL of your website. For example, my domain is TravelParadise.in . To claim your website, you’ll need to pay an annual fee for your domain.
Web hosting is essentially renting space on the internet where your website files will live. Of course, you’ll need both.
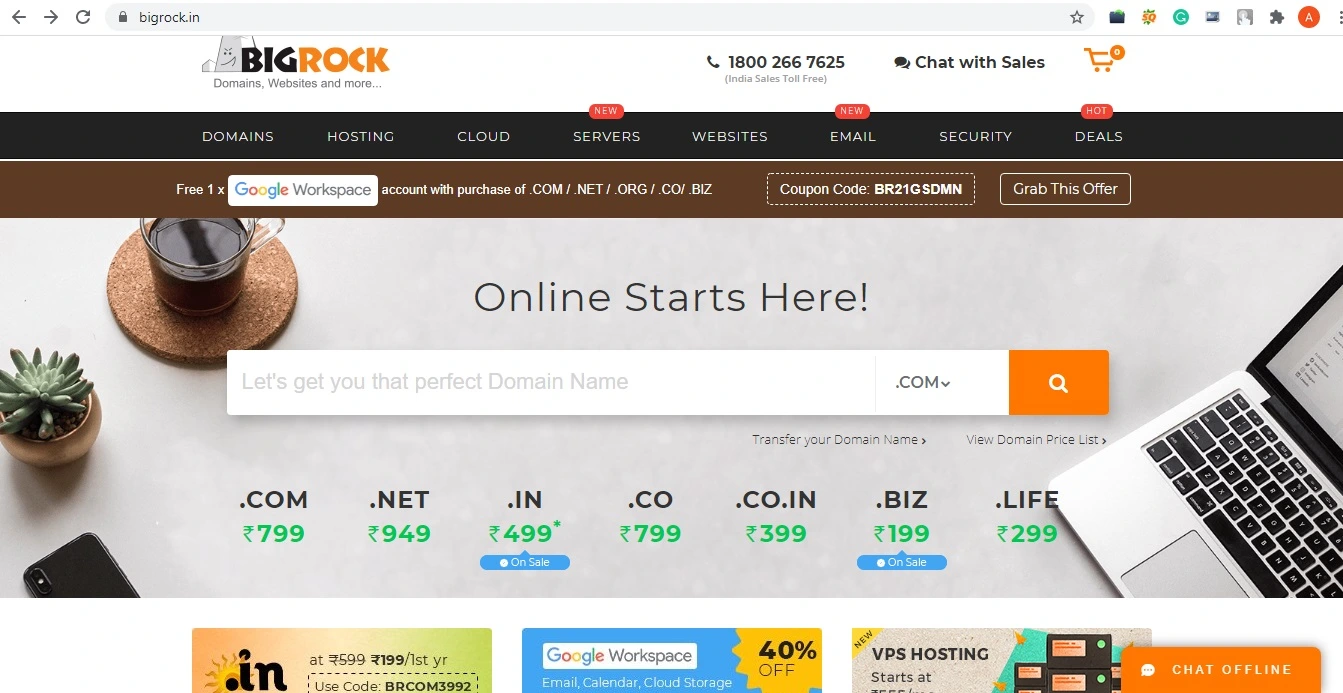
I’m a fan of Bigrock and Bluehost. Bluehost is a reliable and user-friendly web host with customer service there to assist. They also include a free domain registration when you sign up for hosting, so it’s a win-win. If you haven’t started setting up your site, they even have an easy step-by-step registration that walks you through the process.
- EXCLUSIVE OFFER: When you sign up for Bluehost through my blog, you’ll pay just ₹299.00/month instead of ₹919.00/month!
How to Get Started with Bluehost:
- Head to Bluehost: Click the green button that says “Get Started Now.”
- Choose Your Plan: If this is a fresh blog, start with the Basic Plan at ₹299/month. It’s ideal for beginners and you can upgrade later when traffic increases.
- Select the Basic Plan: Click “SELECT” under the Basic Plan to proceed to the next step.
- Domain Setup: To check domain availability, enter your desired name in the LEFT box. If you already have a domain, type it in the RIGHT box and click next. Double-check your spelling!
- Package Information: On the next screen, choose your package details. Uncheck unnecessary add-ons — they’re not needed initially.
- Recommended Option: Go with the 36-Month Basic Plan at ₹299/month. It saves you nearly ₹5,000 compared to shorter terms, making it the most cost-effective choice for beginners.
You’ve now set up your hosting and domain! Pretty easy, right? Now, let’s get that website up!
3. Set Up Your Blog on WordPress
Now that you’ve got your domain and hosting set up, it’s time to get your blog running.
WordPress.org is one of the most popular blogging platforms, and it’s what I use and recommend—just make sure it’s WordPress.org rather than WordPress.com because you’ll want to self-host, and WordPress.com doesn’t allow that.
In general, WordPress is an excellent platform for beginners, and it also has plenty of plugins and styles, so it’s something that can grow with you and your audience. There is a bit of a learning curve, but it’s easy to find help and tips online, and there is so much you can do with this platform.
I would not recommend another platform like Wix or Squarespace. While they’re easy to quickly set up, you end up paying a fee, and you’re very limited with design flexibility. WordPress is free forever and has countless themes and plugins for customization! I’ve known quite a few bloggers who started on one of these other platforms, and when they inevitably switched to WordPress, they had to painstakingly convert their website over. It’s tough and not cheap to hire a professional to do it for you. So, I’d recommend starting with WordPress from the beginning.
How to Set Up WordPress (via Bluehost):
- Set Your Password: Once you’ve signed up for hosting on Bluehost, you’ll be prompted to create your WordPress password.
- Log In and Choose a Theme: After logging in, you’ll be asked to pick a theme. Don’t stress about this choice — you can customize or change it later.
- Click “Start Building”: Once your temporary theme is chosen, click the START BUILDING button to begin setting up your website.
- Choose Website Type: When asked if your site is for business or personal use, select Business. (You go, Glen Coco!)
- Fill in Website Details: Add your website’s name and a short description. You can always refine this later when you work on SEO and meta descriptions.
- Select a Static Welcome Page: Pick “A Static Welcome Page Here.” This will serve as your homepage and can be customized later with your chosen theme.
- Skip Optional Steps: Click “Not Now” when prompted to share your location or install WooCommerce. WooCommerce is great for online stores, but you can add it later if needed.
And that’s it! You’re officially a travel blogger!
To log into your site moving forward, type http://yourdomainname.com/wp-admin into your browser, and you’ll be logged into your WordPress dashboard.
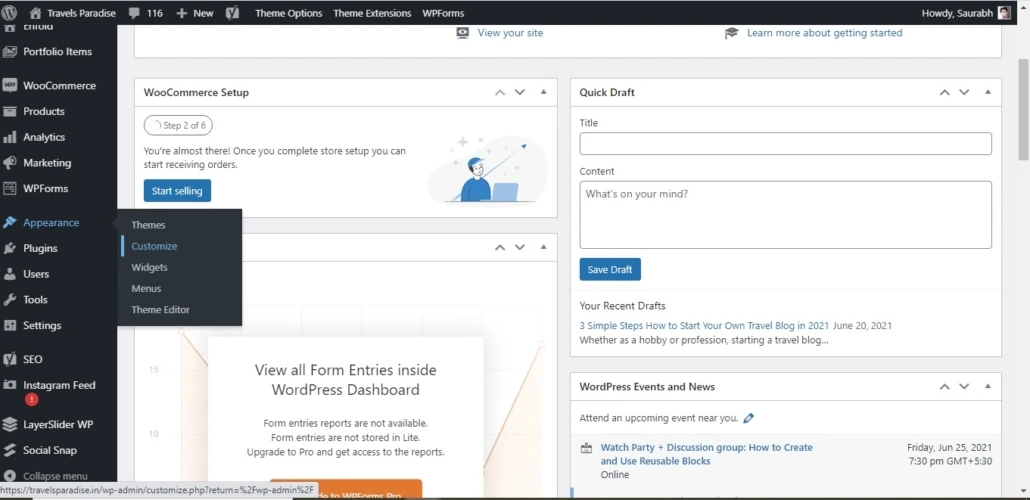
Key WordPress Dashboard Areas:
On the left-hand side column of your dashboard, you’ll see:
- Posts: This is where you’ll draft, edit, and publish your blog posts.
- Pages: This is where you’ll create and manage static pages on your site, such as the About Me or Contact page.
- Appearance: Customize the look of your blog here — install new themes, change fonts, add graphics, or edit your sidebar layout.
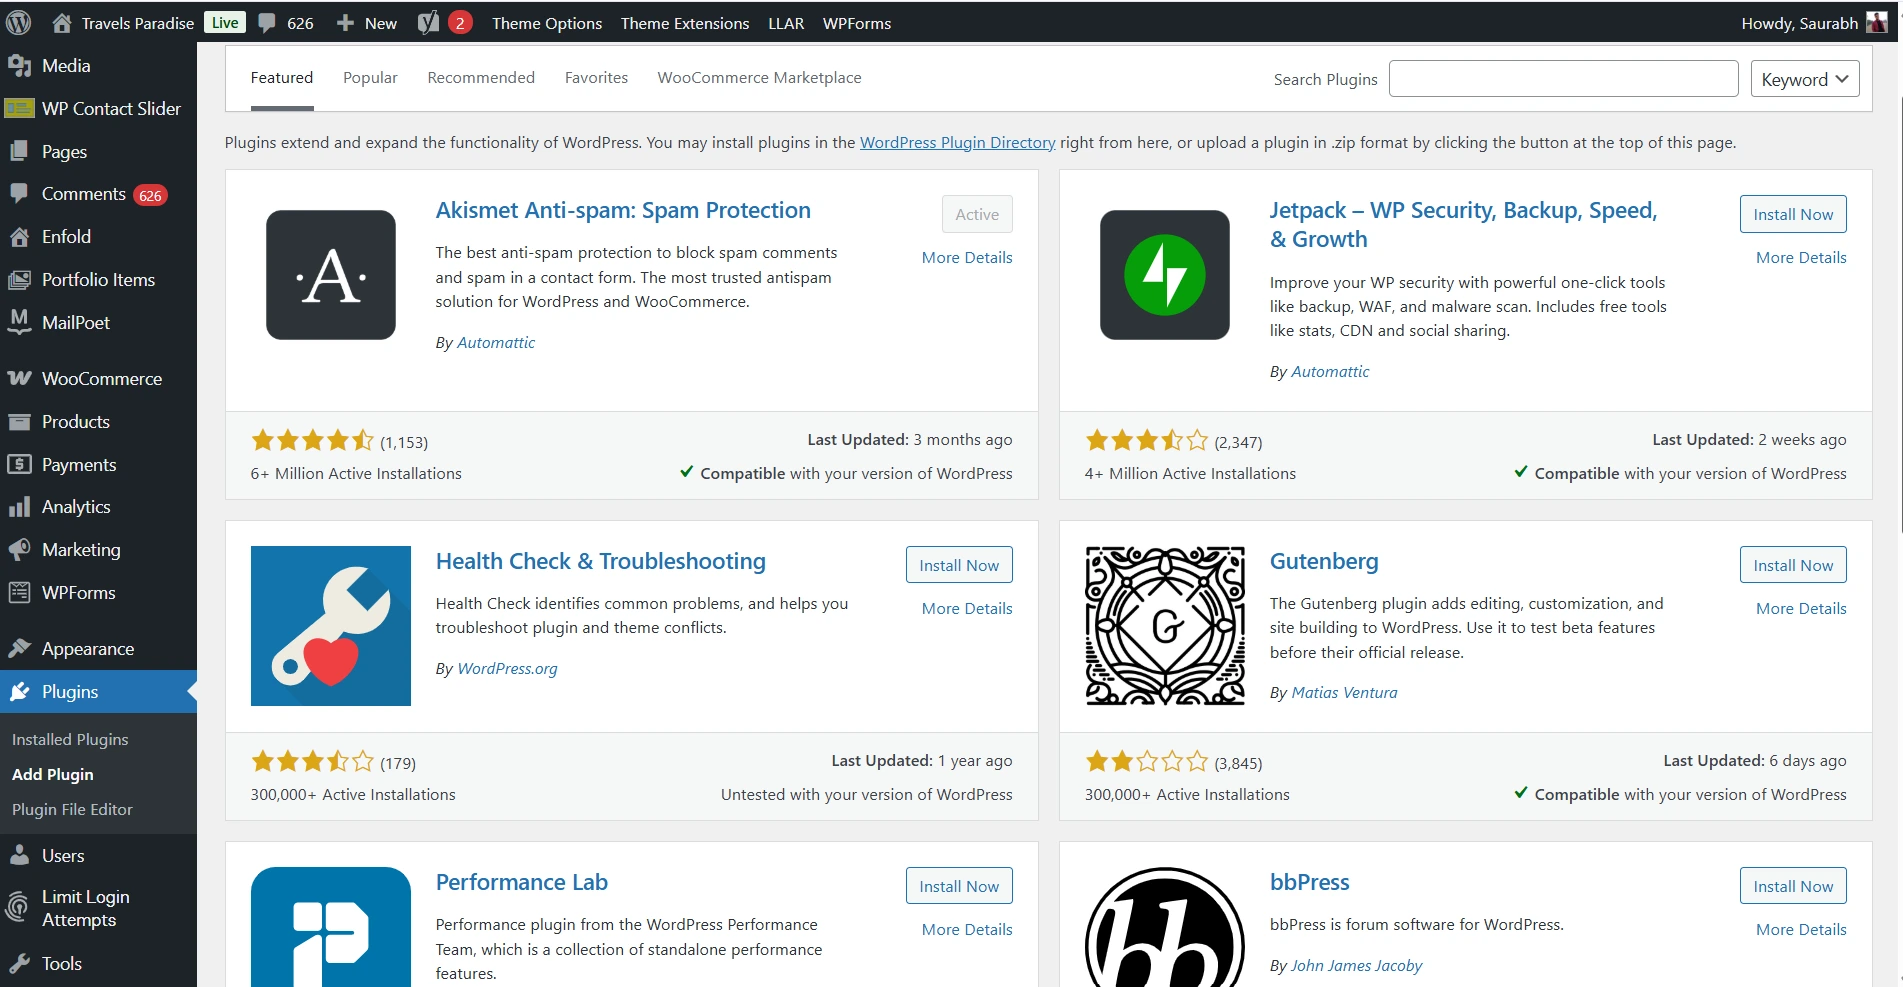
- Plugins: Use this section to install, update, and manage plugins that add new features and functionality to your website.
- Settings: Adjust your site’s core options here, including your tagline, site title, and other key preferences.
To get familiar with WordPress, you can find a tutorial for almost anything on WordPress for Beginners.

4. Connect Your Blog to Google Analytics
Google Analytics gives you an in-depth look at your traffic and more information about your readers. You’ll be able to see incredible details about your traffic, including how many people visit your site, how long they spend on your site, where they’re from, their age range, and more.
The Google Analytics website gives step-by-step instructions on how to get started! The Monster Insights Google Analytics plugin is also an easy-to-use tool for getting it installed on your site.
Step 3: Customize Your Site and Create Content
Now that the blog is up, let’s make it pretty and add some content!
1. Branding + WordPress Themes
The most exciting part is picking out your website theme! A WordPress theme includes page layouts, colors, formatting, and even fonts. Keep in mind that some themes use “shortcode,” which means switching themes after you’ve built out a lot of content can break your site. It’s important to consider your long-term branding before choosing your initial theme!
Quick Branding Tips:
- Brand Beyond Colors: Branding is more than just colors. Think of it as the entire identity of your blog—from your website’s color palette and fonts to your messaging style and tone.
- Define Your Brand Ethos: What kind of personality do you want your brand to project? Are you “the girl next door,” or do you “tell it like it is”? Decide how you want your audience to feel when they engage with your content. Identify keywords like friendly, tastemaker, expert, funny, or controversial.
- Visualize Your Identity: To bring your ideas together, create a Pinterest board filled with your favorite colors, fonts, and design layouts. This visual direction will help shape your brand’s identity and aesthetic consistency.
Finding the Right Theme:
You can find WordPress themes all over the web—from marketplaces to individual graphic designers.
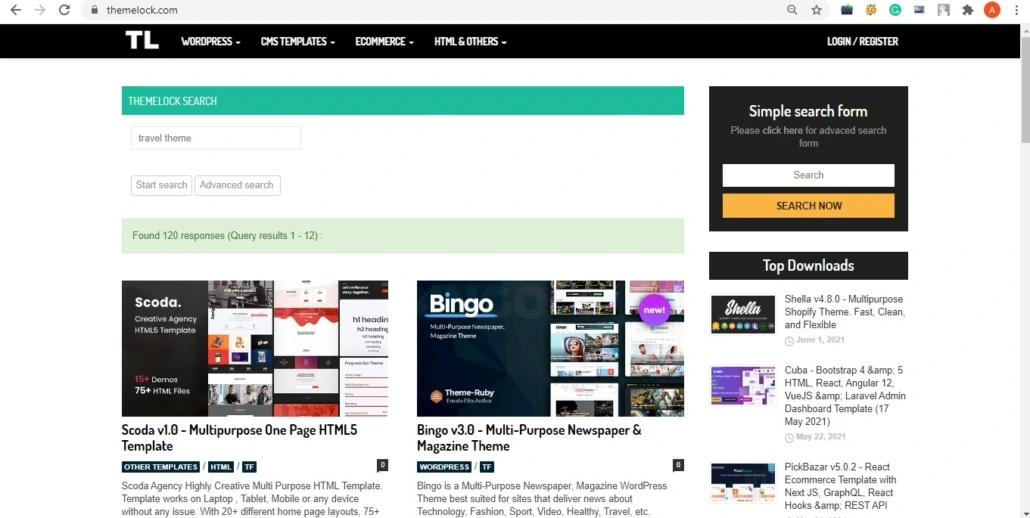
- Creative Market: Offers a wide range of beautifully designed WordPress themes by independent creators. You can also read reviews before purchasing to ensure quality and compatibility.
- Envato (formerly ThemeForest): One of the largest and most reputable marketplaces for high-quality WordPress themes, catering to every style and niche.
- Elegant Themes: A trusted source for unique, creative, and feature-rich WordPress themes that help your blog stand out with professional design flexibility.
Themes home in price between $30–$60. While there are free themes for WordPress, I’d highly recommend investing in a premium theme. It’s a small price to pay for a beautiful site that will grow with you over the years. You’ll want to make sure the theme you choose is for WordPress, is mobile-responsive, and offers customer support.
Theme Installation Steps:
- Download the Theme: Download the
.zipfile of your chosen theme. Do not unzip it! - Log In to WordPress: Access your WordPress dashboard using your credentials.
- Go to Appearance → Themes → Upload: In your dashboard, navigate to Appearance > Themes > Upload.
- Upload and Install: Select the
.zipfile you downloaded, upload it, and then follow your theme’s customization instructions to personalize your site.
2. Logo + Design
Some WordPress themes have a built-in “logo” feature that will display your blog name in the header, which is fine when you’re first starting out.
- For complete beginners, I recommend Canva Pro—it’s a great resource for designing brand elements and graphics! They have thousands of templates, stock photos, and premade graphics that are very easy to customize.
- Creative Market has many premade logo templates, fonts, patterns, and textures that you can incorporate into your website and branding.
- Another option is hiring a freelance graphic designer. You can find great freelancers on Upwork and Fiverr (get 20% off your first order!). Always make sure your freelancer has good reviews and a portfolio that is in line with what you are looking for.
3. User Experience (UX)
Take baby steps, and know that everything doesn’t have to be perfect in the beginning. Once you have your theme installed, it’s important to make your website as user-friendly as possible. The way that someone navigates through your site is called “user experience.”
- Set Up Your Menu Bar: One of the first and most important steps is creating an easy-to-navigate menu bar so readers can quickly find information. In your WordPress Dashboard, go to Appearance → Menus to customize.
- Map Out Your Homepage Layout: Sketch your homepage design on paper first using mock content boxes. Once you’re happy with the layout and structure, build it out in WordPress for a smoother, more organized process.
4. Essential Plugins for Travel Blogs
WordPress has easy-to-use plugins like Yoast SEO, which will help you optimize your content for Google Search, and others like Akismet, which manages spam comments.
Here are my favorite plugins for WordPress:
- Akismet Anti-Spam: Automatically catches and deletes spam comments, keeping your site clean and secure.
- Yoast SEO: The most popular SEO plugin for WordPress — helps optimize your posts and pages for better rankings on Google.
- Google Analytics (via MonsterInsights): Provides detailed insights about your audience and site performance using Google’s analytics tools.
- Social Warfare: A powerful social sharing plugin that encourages readers to share your content across platforms.
- BackWPup: Backs up your entire WordPress site automatically — a must-have for data safety and recovery.
- Grammarly (Chrome Extension): An essential proofreading tool that automatically detects grammar and spelling issues while suggesting better phrasing for clarity and tone.
5. Start Creating Content
You’re almost done! Now it’s time to add content!
Set Up Your Main Pages
After you’ve uploaded your theme and plugins, you’ll want to set up your main pages in addition to the blog posts. To create a new page, go to the left sidebar of your WordPress Dashboard and click Pages > Add New.
- Page: A static piece of content that exists separately from your blog feed — examples include About Me, Contact, or Destinations pages.
- Post: The main article-type content that appears in your blog feed — these are your regular updates, stories, and guides shared with readers.
The first pages to create are:
- About Me Page: Clearly communicate what readers can expect from your site — who you are, what you do, and why your content matters to them.
- Contact Page: Create a dedicated page where readers, brands, or collaborators can reach you. Specify the types of messages you respond to and any boundaries for communication.
Learn the Basics of SEO
Before you start writing, get familiar with SEO (Search Engine Optimization) and using keywords. Resist the urge to learn as you go. You want people to be able to find your content on Google search. Yoast’s Blog and Backlinko are great resources for learning the basics of SEO.
Create a Content Schedule
Establish a consistent schedule that works for you and stick with it. To gain momentum, you do need to post as often as possible. You want to give people a reason to come back, and when they do, you want there to be something new for them to read.
Create “Pillars” of Content
When you first start, it’s best to stick to 2–3 categories that you can specialize in and create plenty of content for. Then, expand from there. For example, a category might be Solo Travel, European Travel, and Fashion. Build out three to five pieces of content for each of those categories before you diversify further.
Beautiful Images and Graphics
Everyone loves visuals, and that’s especially true for social media and Pinterest! Getting your travel content out on social media platforms is crucial when it comes to growing an audience. The best way to do this is to use high-quality images and graphics for every blog post you share.
- Unsplash: A fantastic source for stunning, high-resolution, royalty-free images that bring your blog visuals to life.
- Adobe Suite (Photoshop/Lightroom Classic): Ideal for professional photo editing, graphic design, and creating cohesive visual aesthetics for your brand.
- Canva Pro: An easy-to-use design platform for creating custom graphics, banners, social media posts, and more — no advanced design skills required!
BONUS: Passion vs. Success in Blogging
Before you leave this page, I wanted to offer something that I feel a lot of “getting started guides” leave out—sage advice.
I started my blog in 2020. I am a Digital Marketer and Social Media Manager, and being a full-time working professional, my creativity didn’t get a chance to shine that way. After some time, I went to visit Darjeeling, a place with the reflection of nature’s beauty. There, I felt I was leaving an imaginary me somewhere behind and decided to visit those far-off places I’d dreamt of as a kid—that’s why I started this blog.
I don t want to give you another generic step-by-step guide. I want to help you achieve success.
While it s easy to start a blog physically, it requires countless hours of (99% unpaid) work, creativity, and, above all, the determination to build and sustain a brand. While travel blogging might sound like a permanent vacation, you often aren t seeing the insane amount of work that goes into writing, creating content, shooting photos, editing videos, and sharing to social media.
If you want your travel blog to be successful, you have to start with pure intentions and the motivation to share your passion with others. Otherwise, you ll burn out.
Ask yourself, Am I passionate about photography, writing, being active on social media, and being in constant communication with my community?
The reality of turning travel into your job is that you often are working more than you are traveling even if you re in an exotic destination.
However, my passion for traveling, connecting with other travelers, helping people travel better, and writing would still be here regardless of having a big audience or not. That zeal outweighs the things I don t love about what I do, which is how I ve stuck through it all these years.

Comments (0)